Introduction
Creating professional-quality music no longer requires access to an expensive commercial studio. With the right knowledge and strategic investments, you can build a highly effective home studio without breaking the bank. In this comprehensive guide, I'll walk you through the essential gear, setup considerations, and budget-friendly tips to create a productive music production space at home.
Having built several home studios over the years - from bare-bones setups in small apartments to more comprehensive spaces - I've learned what truly matters for getting great results. This guide focuses on the essentials that give you the most value for your investment, helping you avoid costly mistakes and unnecessary purchases.
Planning Your Space
Before purchasing any equipment, it's crucial to assess and optimize your available space:
Room Selection
- Size Considerations: Ideally, choose a medium-sized room (10x10ft to 15x20ft) - very small rooms create acoustic problems, while very large rooms can be difficult to treat
- Noise Isolation: Select a room away from external noise sources (street traffic, plumbing, HVAC systems)
- Shape: Irregular shapes are better than perfect squares or rectangles, which can create standing waves
- Ceiling Height: Higher ceilings generally provide better acoustics
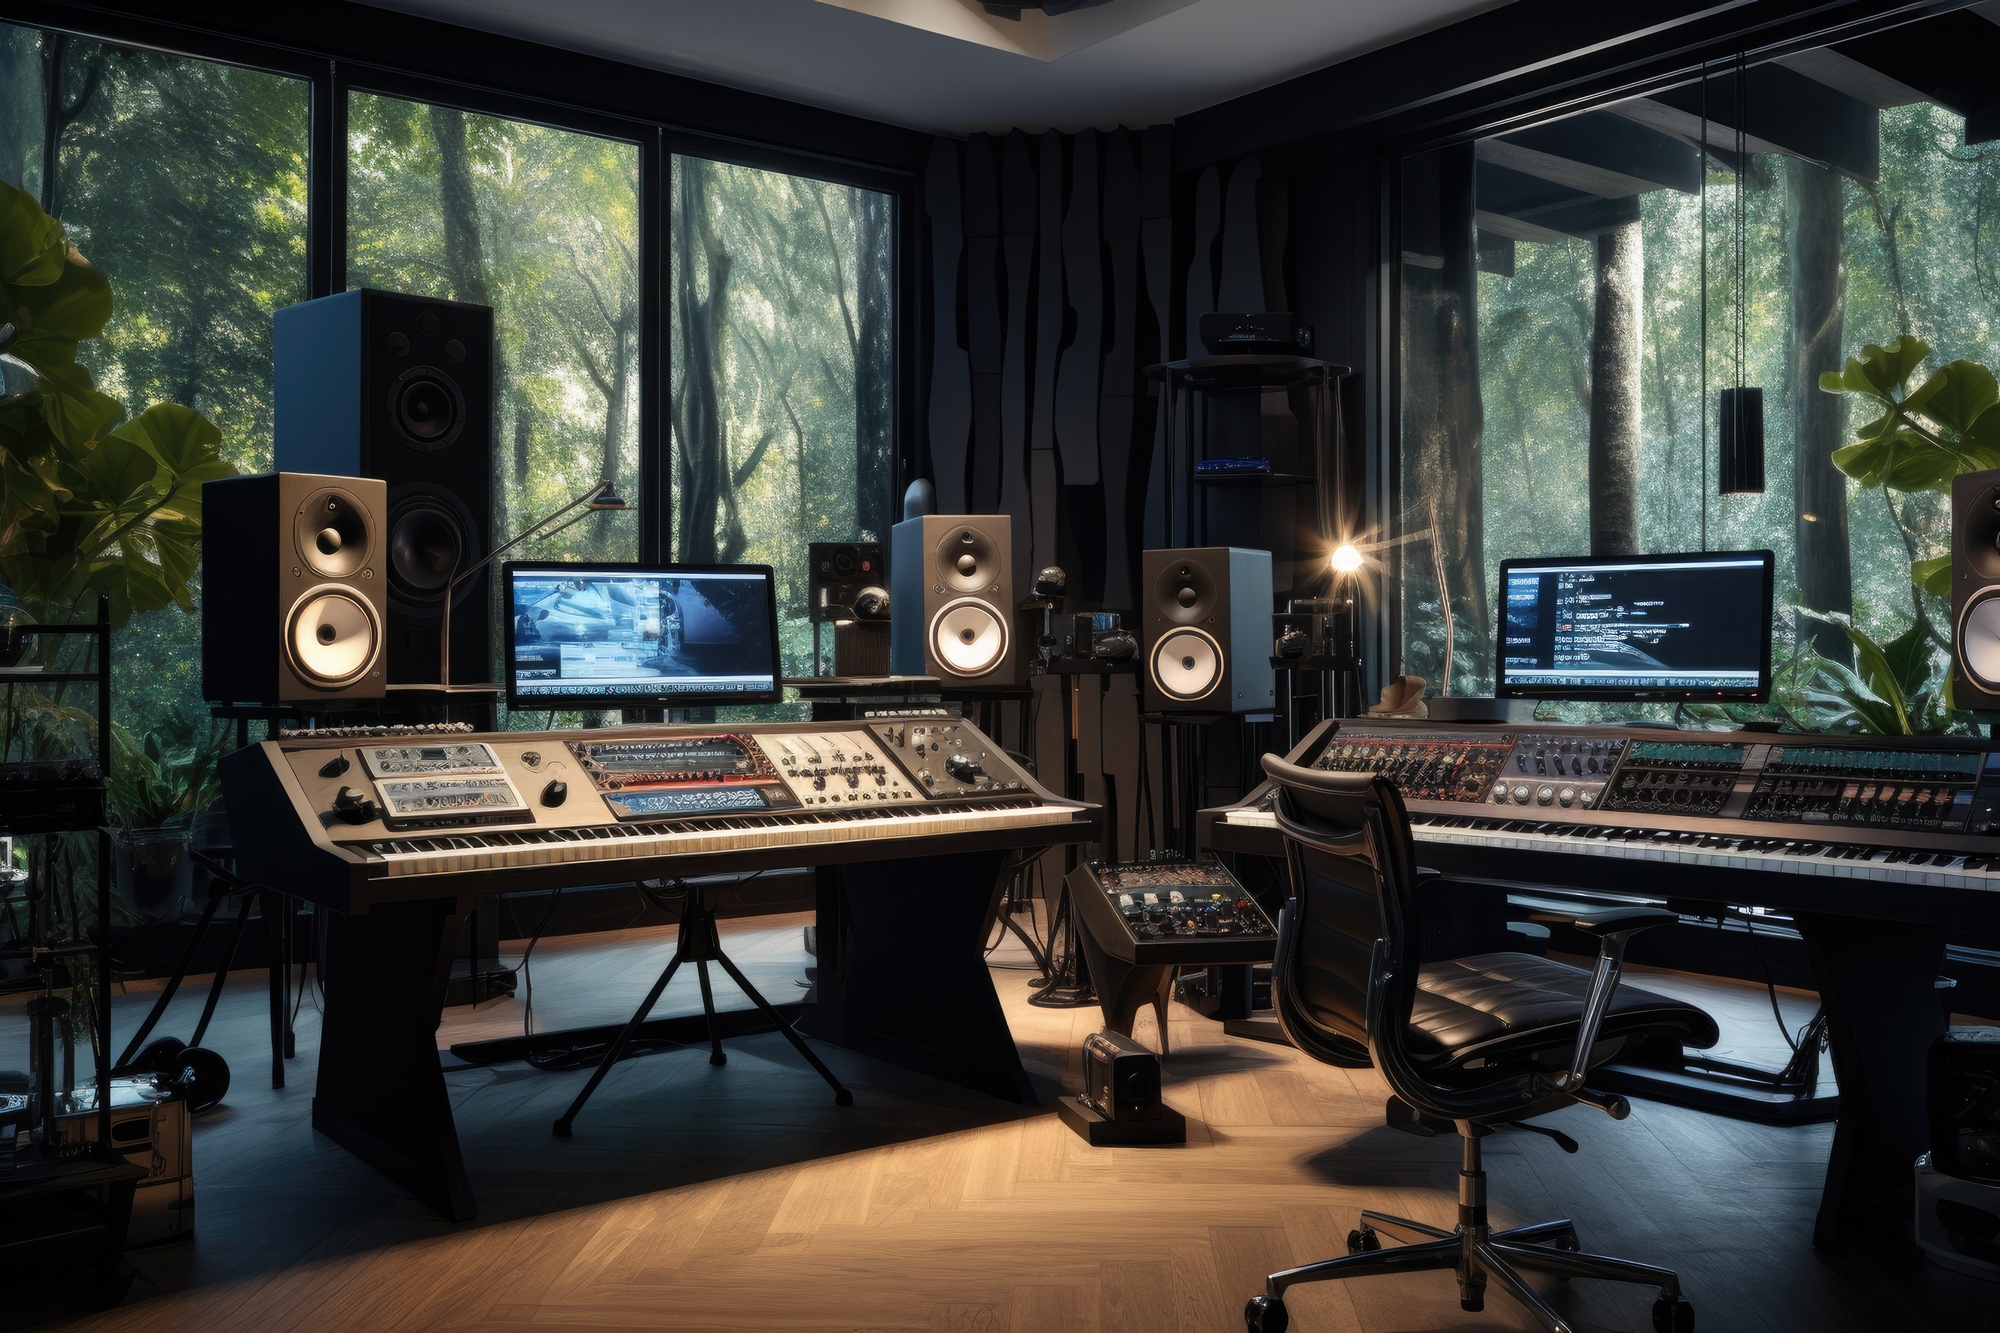
Layout Planning
- Speaker Placement: Position your desk and monitors to create an equilateral triangle between your head and speakers
- Symmetry: Try to maintain left-right symmetry in your setup
- Reflection Points: Identify where sound will reflect off walls, ceiling, and floor
- Cable Management: Plan routes for cables to minimize tangling and tripping hazards
Remember that even modest improvements to your space can significantly impact your sound quality. Don't underestimate the importance of proper room setup before investing in expensive gear.
Essential Equipment: The Core Setup
Let's break down the essential components for a functional home studio, focusing on quality and value:
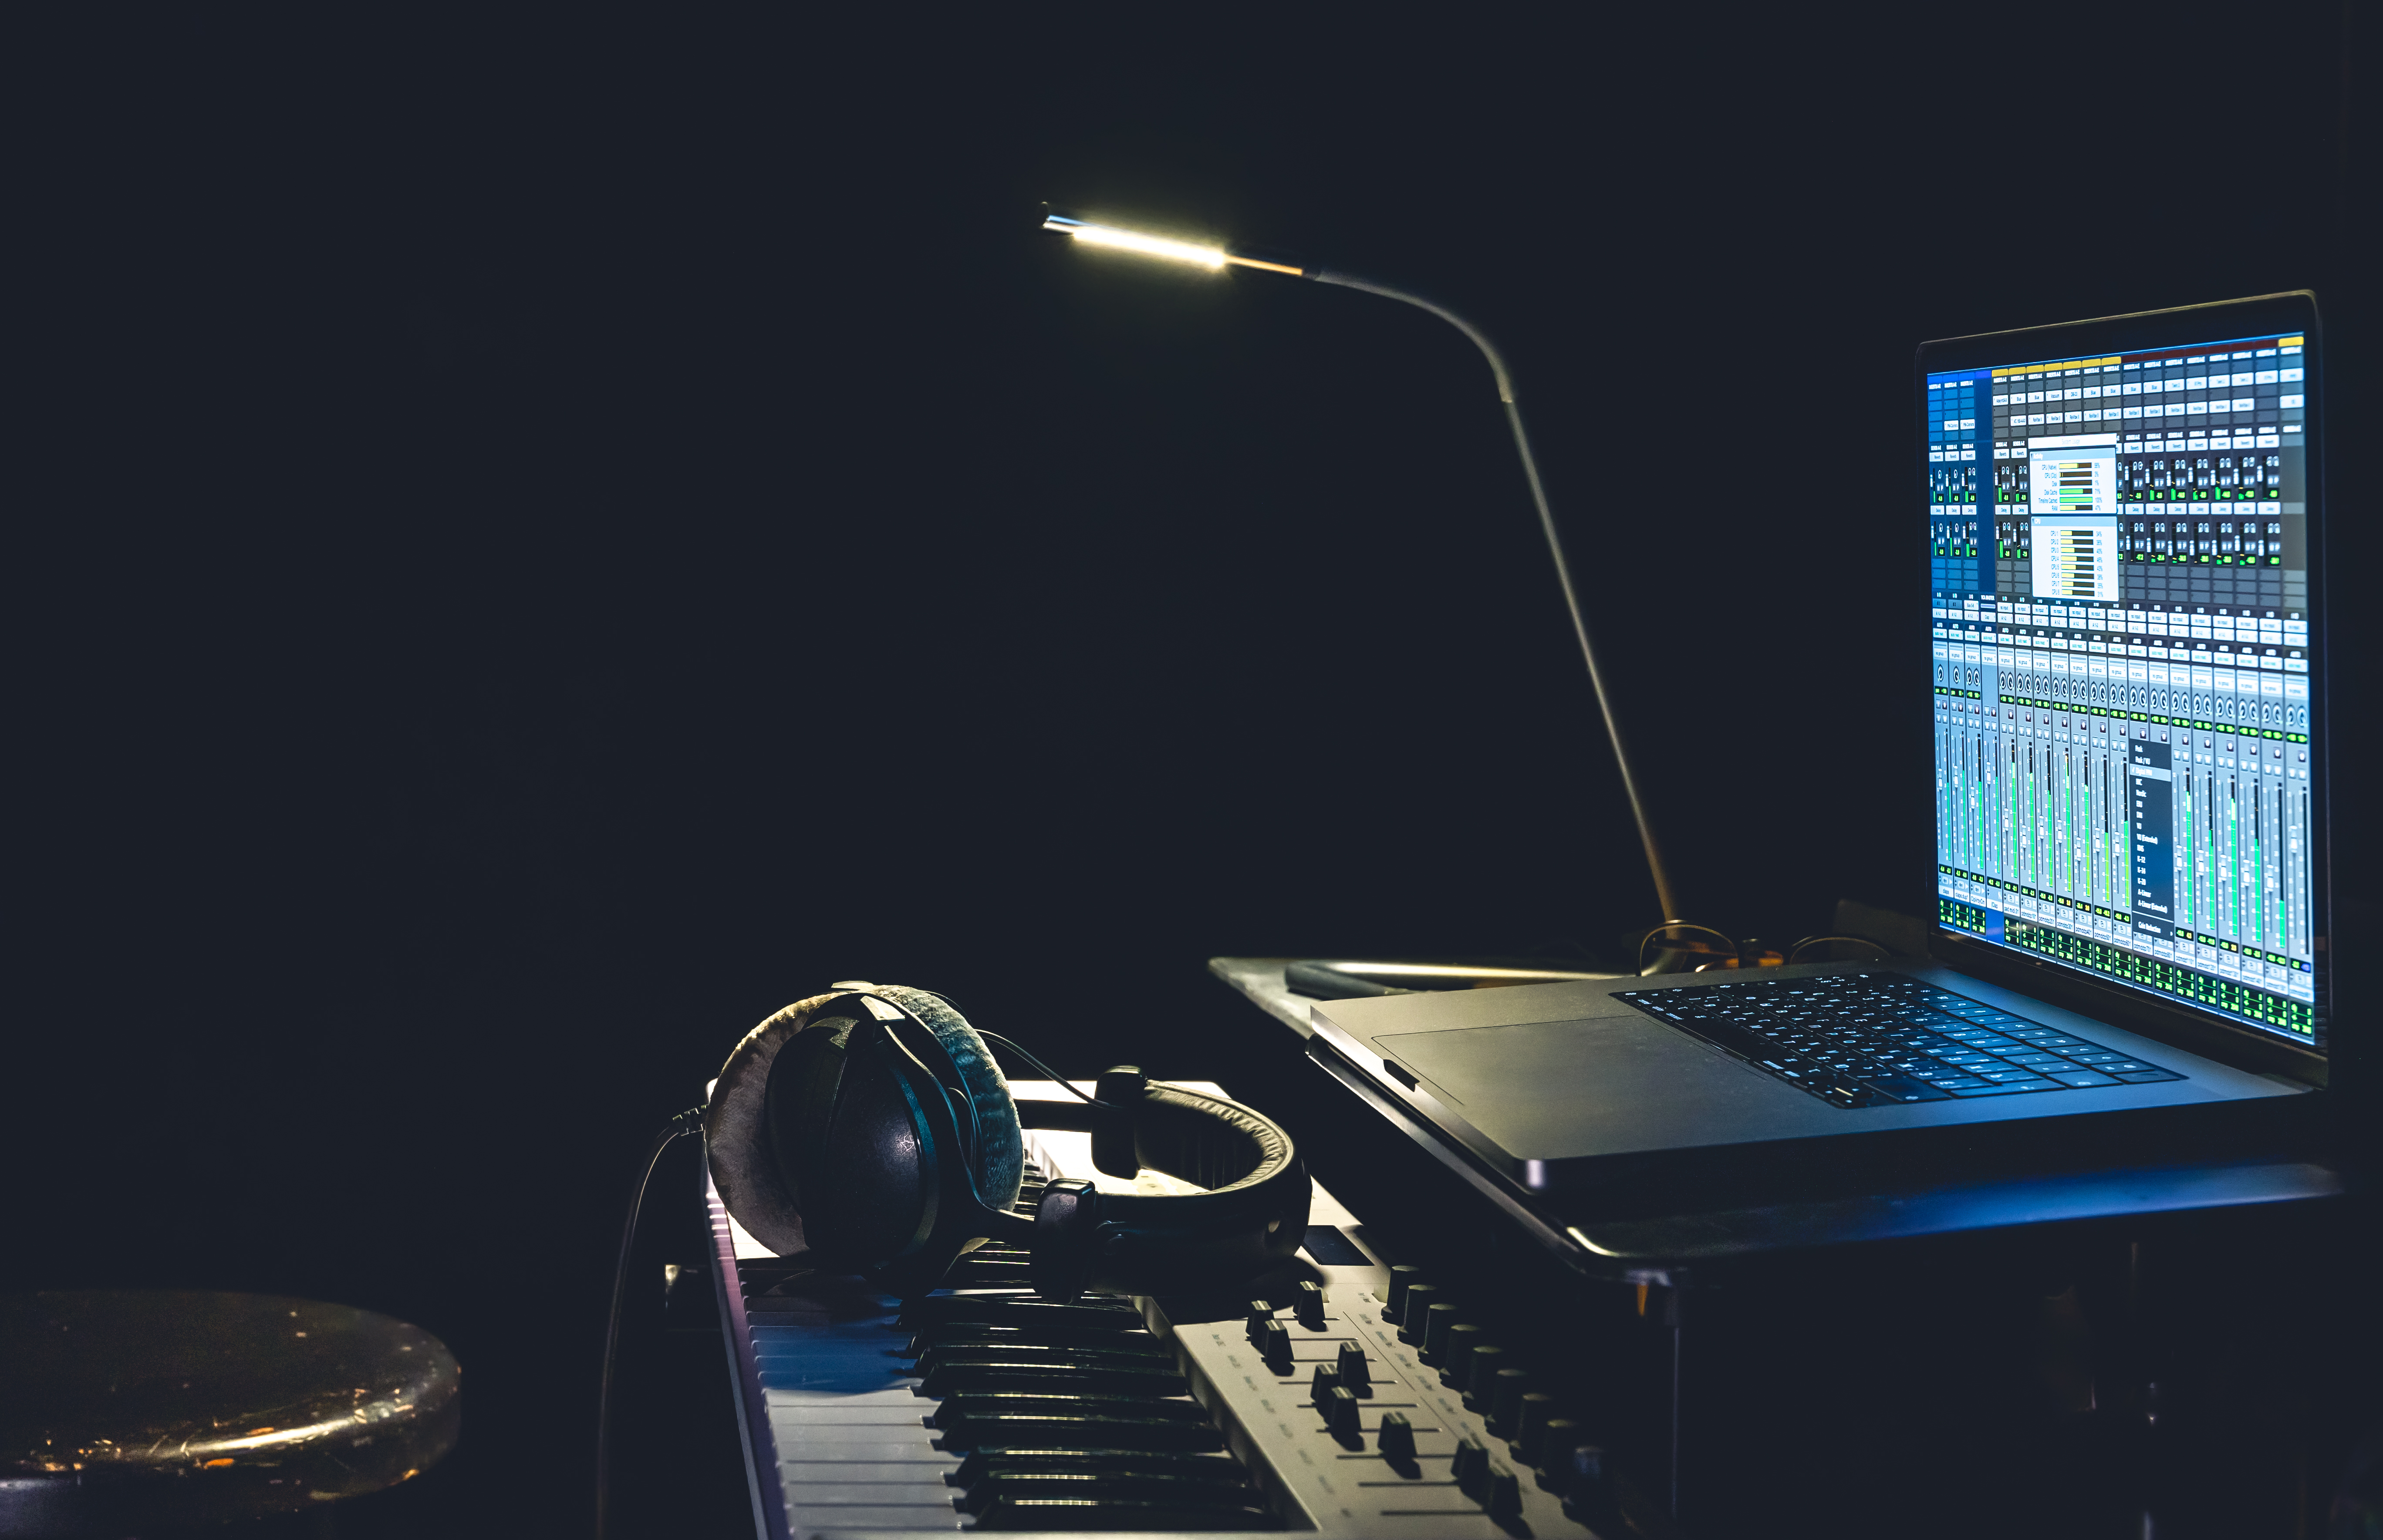
Computer
The heart of your modern studio:
- Specifications: Prioritize CPU power and RAM (minimum 16GB, ideally 32GB for larger projects)
- Desktop vs. Laptop: Desktops offer better value and upgradeability, but laptops provide portability
- Mac vs. PC: Both are capable - choose based on your preferred software and budget
- Budget Option: A refurbished computer can offer excellent value
Audio Interface
Your bridge between analog and digital:
- I/O Requirements: Determine how many inputs and outputs you need (2 inputs is sufficient for most beginners)
- Preamp Quality: Look for interfaces with clean, transparent preamps
- Connectivity: USB interfaces are most common and compatible
- Budget Recommendations: Focusrite Scarlett series, PreSonus AudioBox, or Behringer UMC interfaces offer excellent value
Monitoring System
How you'll hear your music:
- Studio Monitors: Near-field monitors with 5-8" woofers are ideal for most home studios
- Headphones: Include both closed-back (for recording) and open-back (for mixing) if possible
- Budget Recommendations:
- Monitors: JBL 305P, PreSonus Eris E5, or Kali Audio LP-6
- Headphones: Audio-Technica ATH-M50x (closed) and Sennheiser HD 559 (open)
- Monitor Isolation: Use isolation pads or stands to improve sound quality
MIDI Controller
For playing virtual instruments:
- Keyboard Size: 25-49 keys is sufficient for most producers
- Additional Controls: Knobs, faders, and pads can enhance workflow
- Budget Recommendations: Arturia MiniLab, Akai MPK Mini, or Novation Launchkey Mini
Acoustic Treatment on a Budget
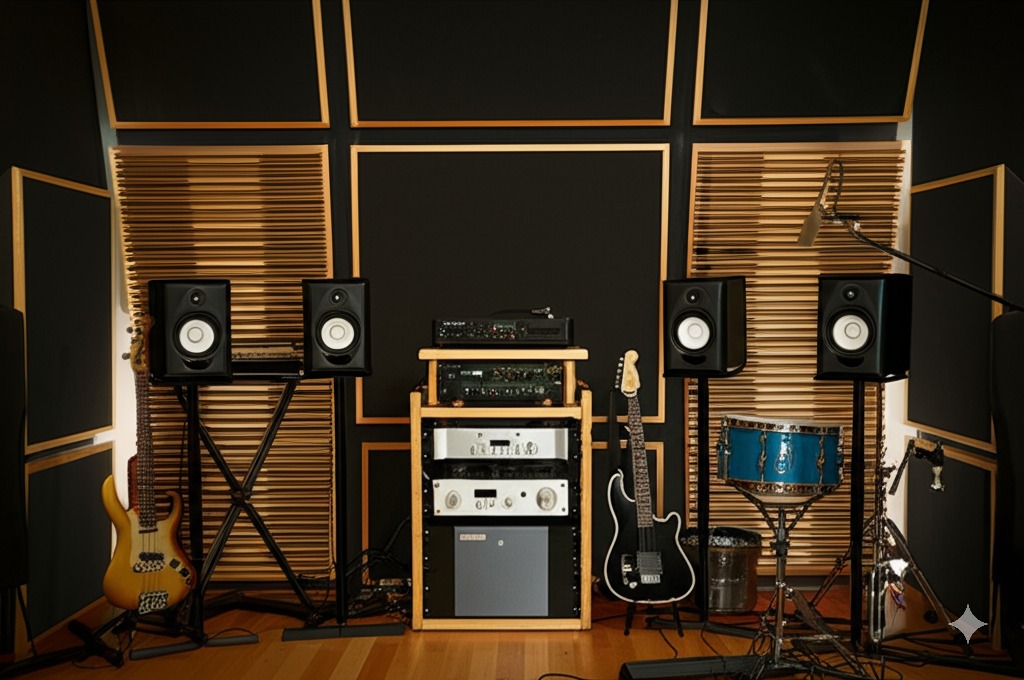
DIY acoustic treatment solutions that won't break the bank
DIY Solutions
- Bass Traps: Place in corners to control low frequencies
- DIY Option: Mineral wool insulation (Rockwool/Owens Corning) wrapped in fabric
- Absorption Panels: Reduce reflections at first reflection points
- DIY Option: Framed mineral wool panels covered with breathable fabric
- Diffusion: Scatter sound waves to reduce flutter echo
- Budget Option: Bookshelves filled with books of varying sizes
Strategic Placement
- First Reflection Points: Identify where sound from your monitors first hits walls and ceiling
- Rear Wall: Treat the wall behind your listening position
- Corners: Bass builds up in corners, making them prime locations for bass traps
Even modest acoustic treatment will significantly improve your monitoring accuracy, often more than upgrading your speakers would.
Microphones: Quality vs. Quantity
For recording vocals and instruments:
Microphone Types
- Large Diaphragm Condenser: Versatile for vocals and acoustic instruments
- Budget Options: Audio-Technica AT2020, Rode NT1, or AKG P220
- Dynamic Microphone: Robust for loud sources and less sensitive to room acoustics
- Budget Options: Shure SM57/SM58, Sennheiser e835, or Rode PodMic
Accessories
- Microphone Stand: Get a sturdy stand with a boom arm
- Pop Filter: Essential for vocal recording
- Shock Mount: Reduces vibrations from the environment
- Reflection Filter: Can help in untreated rooms (though not a substitute for proper treatment)
Start with one quality microphone rather than multiple cheaper options. A single versatile mic can handle most recording needs for beginners.
Software and Digital Tools
The digital components of your studio:
Digital Audio Workstation (DAW)
- Free/Budget Options: Reaper (inexpensive), Cakewalk by BandLab (free), GarageBand (free for Mac)
- Mid-Range Options: Studio One Artist, Ableton Live Intro, Logic Pro (Mac only)
- Considerations: Many interfaces come bundled with "lite" versions of DAWs
Essential Plugins
- Stock Plugins: Master your DAW's included plugins before buying third-party options
- Free Plugins: Many high-quality free plugins are available (TDR Nova, Valhalla Supermassive, Spitfire LABS)
- Plugin Suites: Consider all-in-one bundles for better value when upgrading
Don't fall into the plugin rabbit hole - focus on learning a few tools deeply rather than collecting many you barely understand.
Connectivity and Power
Often overlooked but crucial components:
Cables and Adapters
- Quality Matters: Invest in decent cables - they don't need to be premium, but avoid the cheapest options
- Types Needed: XLR, TRS/TS, MIDI, and various adapters depending on your setup
- Cable Management: Velcro ties or cable sleeves keep your studio tidy and professional
Power Conditioning
- Surge Protection: At minimum, use quality surge protectors
- Power Conditioning: Consider a basic power conditioner to reduce noise
- UPS: An uninterruptible power supply protects work during power outages
Clean power and quality cables reduce noise and prevent frustrating troubleshooting sessions.
Ergonomics and Comfort
You'll spend hours in your studio - make it comfortable:
- Chair: Invest in a comfortable, supportive chair - your back will thank you
- Desk: Ensure proper height and sufficient space for all equipment
- Monitor Stands: Position screens at eye level to prevent neck strain
- Lighting: Good lighting reduces eye strain and affects mood
Comfort directly impacts creativity and productivity - don't underestimate its importance.
Expanding Your Studio: What to Upgrade First
Once you have the basics, prioritize upgrades strategically:
- Acoustic Treatment: Always the best first upgrade
- Monitoring: Better monitors or headphones improve all your decisions
- Interface: Upgrade when you need more I/O or better preamps
- Microphones: Add specialized mics for specific applications
- Outboard Gear: Hardware compressors, preamps, etc. for specific color/character
Upgrade based on what will address your current limitations, not just what's newest or most exciting.
Budget Breakdown: Sample Setups
Here are three example setups at different price points:
Ultra-Budget Setup ($500-700)
- Audio Interface: Behringer UMC202HD ($129)
- Monitors: PreSonus Eris E3.5 ($100) or good headphones
- Microphone: Audio-Technica AT2020 ($99)
- MIDI Controller: Arturia MiniLab mkII ($119)
- DAW: Free/bundled option
- Acoustic Treatment: DIY solutions ($100-150)
Mid-Range Setup ($1000-1500)
- Audio Interface: Focusrite Scarlett 2i2 ($169)
- Monitors: Kali Audio LP-6 pair ($300)
- Headphones: Audio-Technica ATH-M50x ($149)
- Microphone: Rode NT1 Kit ($269)
- MIDI Controller: Novation Launchkey 49 ($219)
- DAW: Mid-tier option ($200-300)
- Acoustic Treatment: Mix of DIY and commercial solutions ($200-300)
Higher-End Home Setup ($2000-3000)
- Audio Interface: Universal Audio Volt 276 ($399)
- Monitors: Adam Audio T7V pair ($500)
- Headphones: Sennheiser HD 650 ($399) + closed-back option
- Microphones: Shure SM7B ($399) + Rode NT1 ($269)
- MIDI Controller: Native Instruments Komplete Kontrol A49 ($219)
- DAW: Professional option ($300-600)
- Acoustic Treatment: Commercial solutions ($400-600)
- Extras: Monitor controller, additional plugins, etc.
Remember that these are just examples - customize based on your specific needs and musical style.
Common Mistakes to Avoid
Learn from others' experiences:
- Overspending on Gear, Underspending on Acoustics: Great gear sounds terrible in a poor room
- Buying Too Much Too Soon: Master what you have before expanding
- Neglecting Ergonomics: Poor setup leads to fatigue and potential injury
- Chasing Perfection: Remember that many hit records were made in modest spaces
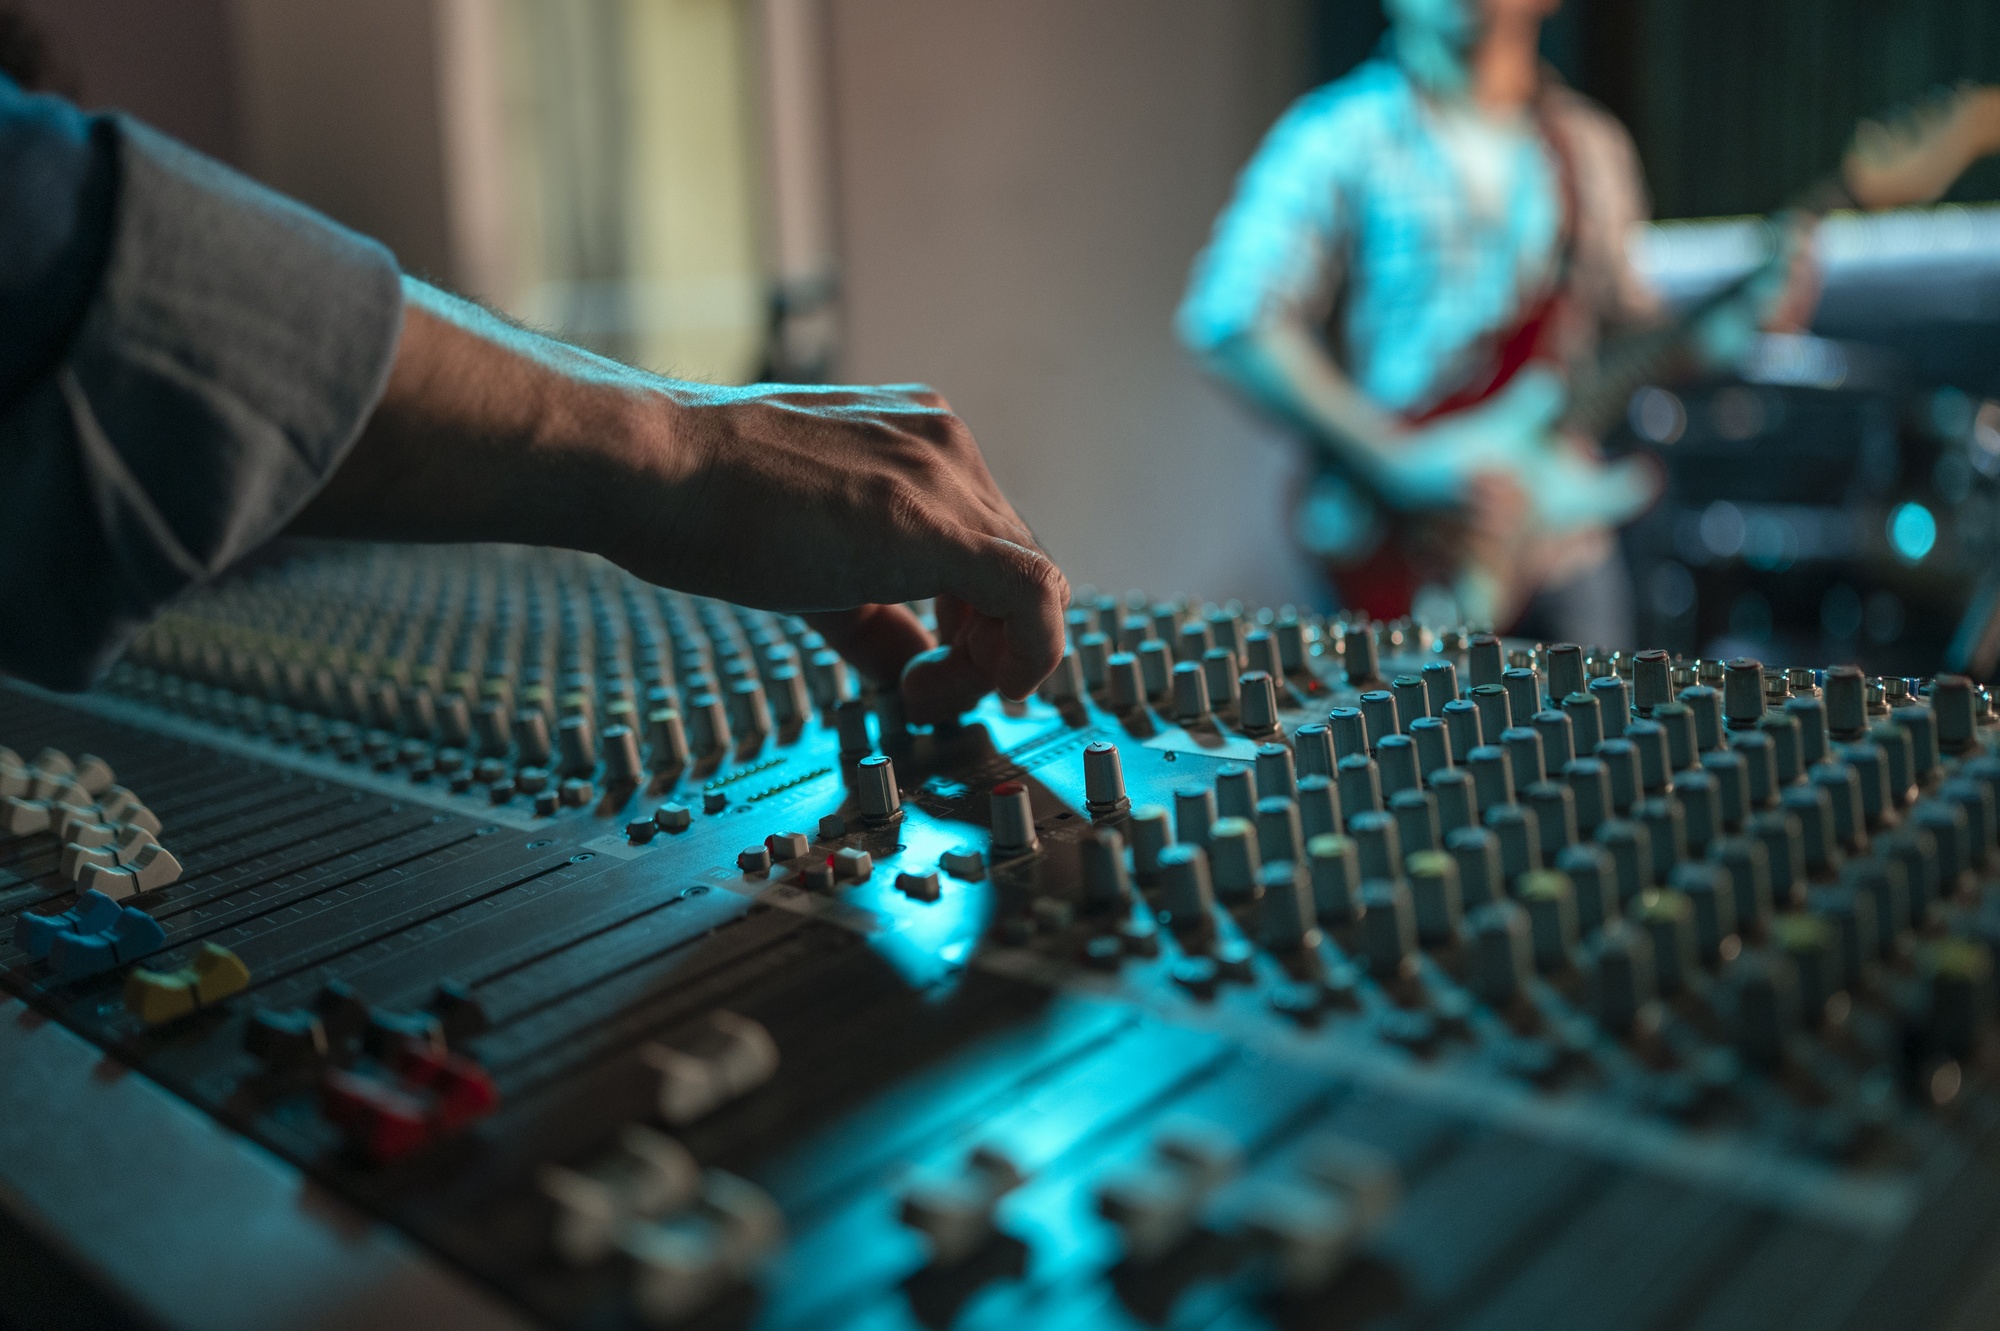
- Ignoring Signal Flow: Understanding how signal moves through your system is crucial
The most common mistake is focusing too much on gear and not enough on skills and room acoustics.
Conclusion
Building a home studio on a budget is about making strategic choices that maximize your results while minimizing costs. Remember that the most expensive studio won't make up for lack of skills, and conversely, a talented producer can create amazing work with modest equipment.
Focus first on creating a functional, comfortable space with the essential tools you need. Invest in acoustic treatment, quality monitoring, and a reliable recording chain. As your skills develop, you'll better understand which upgrades will most benefit your specific workflow and style.
The most important thing is to start creating music with whatever you have. Don't fall into the trap of waiting until you have the "perfect" setup - the best studio is the one that helps you create and finish music consistently.
What aspect of home studio setup are you most interested in developing? Let me know in the comments below!